
- Steps
- FAQs
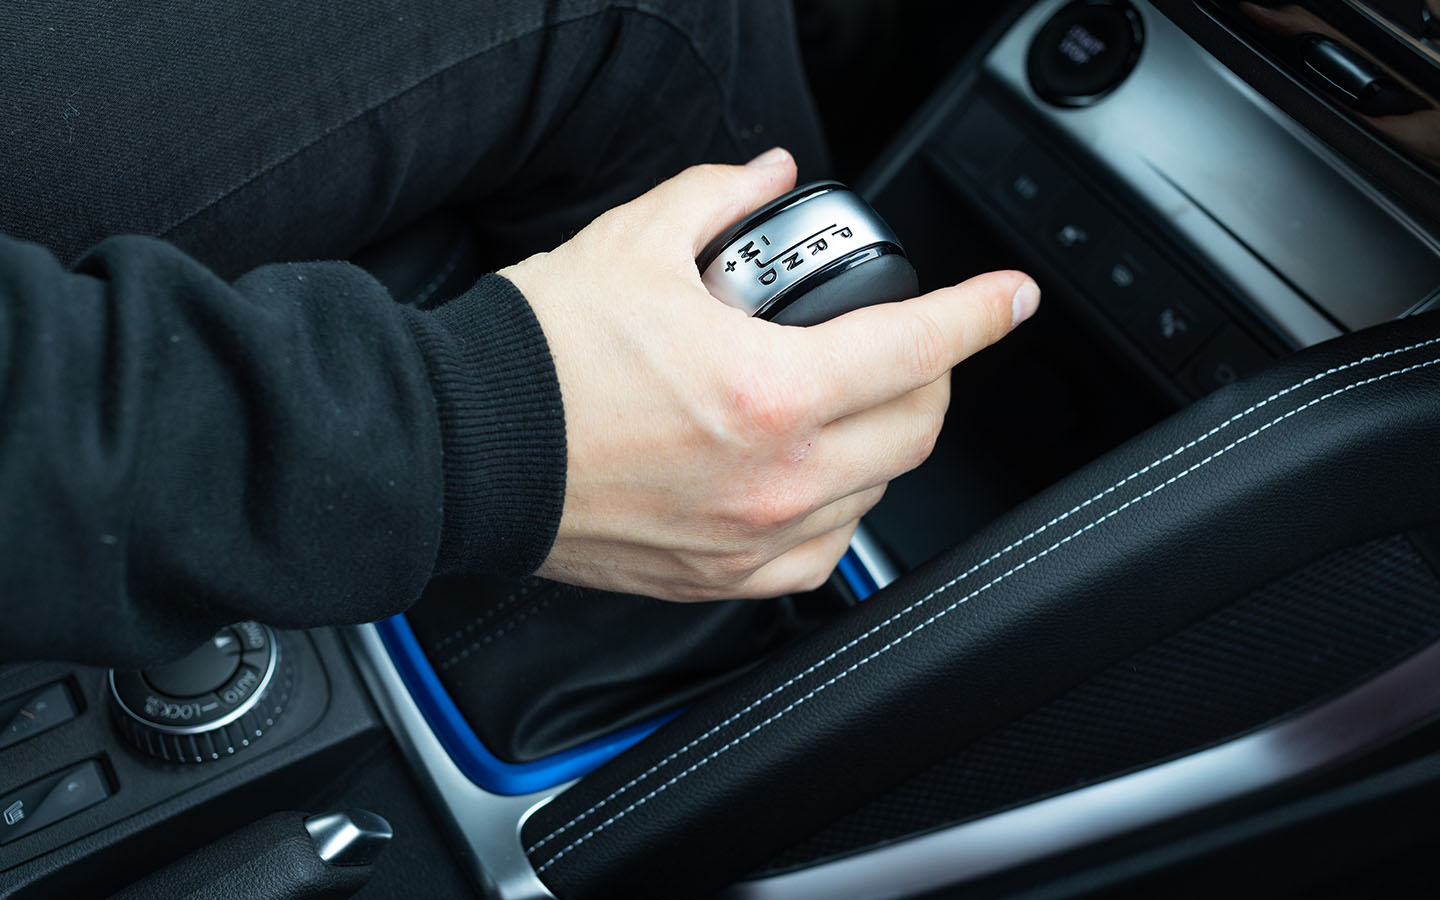
The shift interlock solenoid plays a vital role in the proper functioning of the gear shift mechanism in automatic transmissions. When this component fails, it can lead to difficulty in shifting gears or even render the vehicle stuck in park. This detailed guide provides step-by-step instructions to help you replace a bad shift interlock solenoid, ensuring your vehicle’s smooth operation.
Let’s delve into the details about how to replace a bad shift interlock solenoid and what tools we need for the replacement.
Step-By-Step Guide for Bad Shift Lock Solenoid Replacement
Knowing the bad shift interlock solenoid symptoms will help you identify when to replace it. However, before you begin, gather the necessary tools and replacement parts. Additionally, consult your vehicle’s repair manual for specific instructions and adhere to safety precautions.
Gather the Necessary Tools and Materials
The tools and materials required for the process include:
- Screwdrivers (Phillips and flathead)
- A wrench set
- Needle-nose pliers
- A new shift interlock solenoid
- A jack and jack stand
- Safety gear, such as gloves and safety glasses
Ensure Safety
- Park on a level surface and engage the parking brake.
- Disconnect the negative battery terminal to prevent electrical accidents.
Furthermore, prioritise regular maintenance for your car battery to ensure its optimal performance.
Step 1: Access the Shift Interlock Solenoid
- Once you ensure the safety, locate the shift interlock solenoid, typically near the shifter mechanism. Refer to your vehicle’s manual for specific details.
- Remove any components obstructing access, such as the centre console or trim panels. Also, locate the overdrive switch wiring connected to the shift interlock solenoid and carefully disconnect it. This step is crucial for a smooth removal process. Also, if the car rewiring is bad and needs replacement.
Step 2: Disconnect the Battery
- Using a wrench, carefully disconnect the negative terminal of the vehicle’s battery to ensure safety during the replacement process.
Step 3: Remove the Old Solenoid
- Carefully detach the electrical connector from the solenoid. Make sure you perform the task carefully to ensure a gentle removal of the electrical connector to avoid damage.
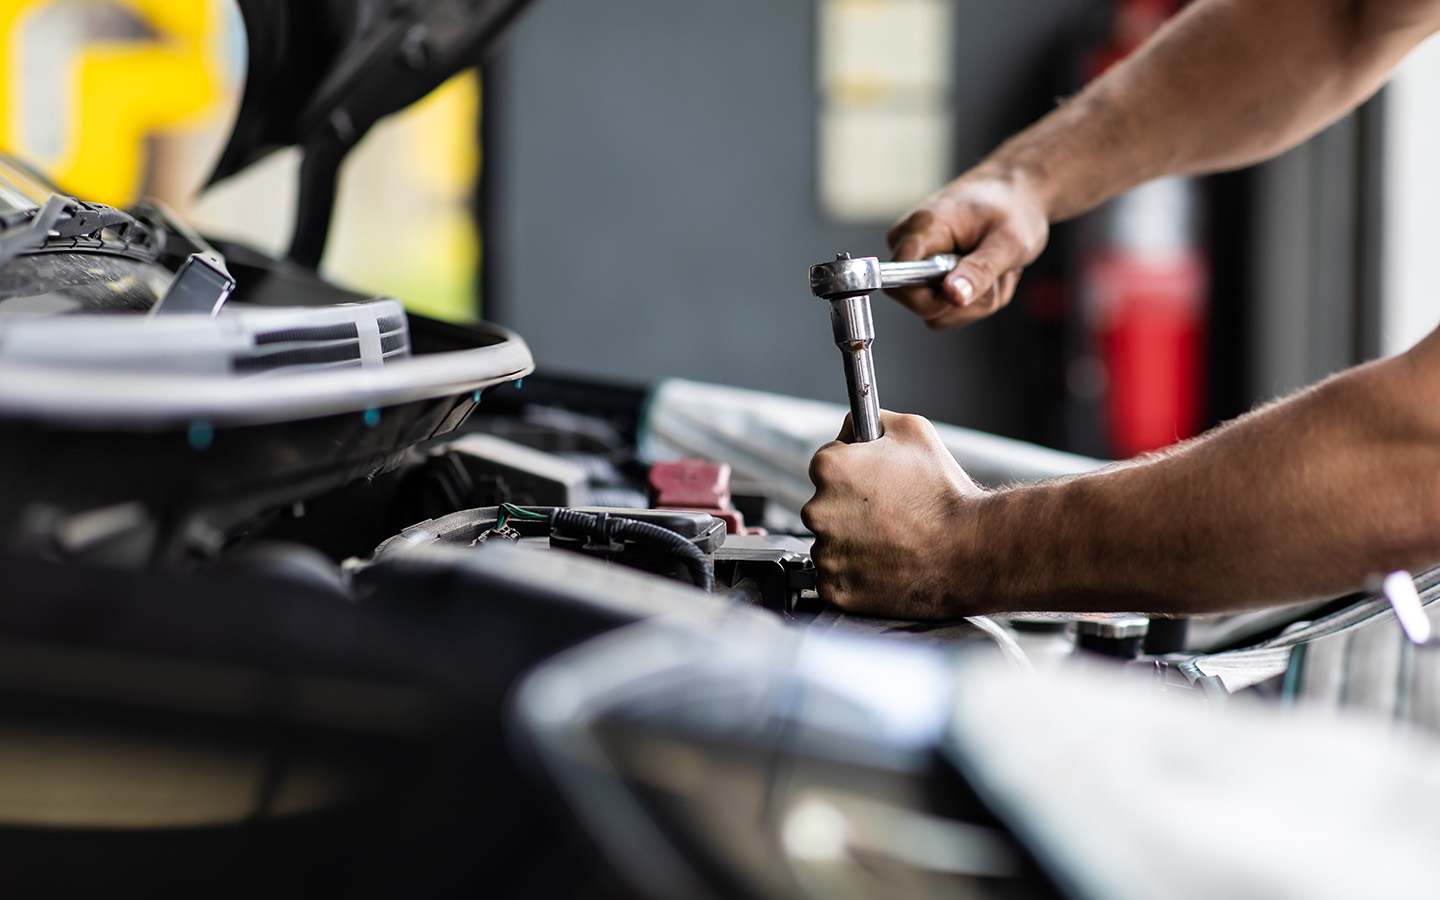
- Use a screwdriver or wrench to remove any bolts securing the solenoid in place.
- Loosen and remove any bolts carefully, ensuring none are misplaced during the process.
- Gently pull the old solenoid from its mounting position.
- Take your time to avoid any unnecessary force that may cause damage.
Pro Tip: Take note of how the solenoid is positioned before removal to ensure proper installation of the new one. Understanding the orientation of the old solenoid aids in a seamless installation of the replacement.
Step 4: Install the New Solenoid
Installing a new shift interlock solenoid is a crucial step in ensuring the proper functioning of your vehicle’s transmission system.
Align the New Solenoid with the Mounting Bracket
- Carefully position the new shift interlock solenoid in alignment with the mounting bracket on your vehicle’s transmission.
- Ensure that the solenoid is positioned correctly and that it lines up with the corresponding holes on the bracket.
Secure the Solenoid in Place
- Insert the bolts through the mounting holes on the solenoid and into the corresponding holes on the bracket.
- Use an appropriate wrench or socket to tighten the bolts securely. Be cautious not to overtighten, as this can damage the solenoid or the bracket. Refer to your vehicle’s service manual for specific torque specifications if available.
Apply Thread Locker (Pro Tip)
- Before tightening the bolts completely, consider applying a small amount of thread locker to the threads of each bolt. A thread locker helps prevent the bolts from loosening due to vibrations and ensures a more secure installation.
- Use a thread locker product that is suitable for automotive applications. Apply a small drop on the threads of each bolt before inserting them.
Step 5: Reconnect the Electrical Connector
- Locate the electrical connector on the new solenoid.
- Carefully reconnect the electrical connector, ensuring that it clicks securely into place. This connector is crucial for providing power to the solenoid and controlling its operation.
Step 6: Double-Check Installation
- Once the solenoid is secured in place and the electrical connector is reattached, double-check the installation.
- Also, ensure that there are no loose components and verify that the solenoid is firmly attached to the mounting bracket.
If you still see your car’s check engine light is on, understanding the reason behind neglecting these warnings could potentially result in expensive repairs.
Step 7: Test the System

- Before finalising the installation, test the shift interlock system to ensure that the new solenoid is functioning correctly.
- Start the vehicle and attempt to shift gears while pressing the brake pedal. The solenoid should engage and disengage as expected. Also, there could be other reasons why a car’s gear is stuck in park mode.
- Confirm that the brake pedal must be depressed to shift out of the park, indicating the proper operation of the shift interlock solenoid.
Step 8: Finalise the Installation
- If the solenoid operates correctly during the test, finalise the installation by confirming that all bolts are securely tightened.
- Clear any tools or equipment from the work area and close the hood of the vehicle.
FAQs
Can you replace a shift solenoid yourself?
Replacing a transmission shift solenoid is a task that can be undertaken by an auto repair shop, a service centre at an automobile dealership or through a do-it-yourself approach.
What happens when the shift interlock solenoid goes bad?
In certain instances, a malfunctioning shift interlock solenoid may result in the key becoming trapped in the ignition. If you find yourself in this situation, you can follow the steps to extract a stuck car key from the ignition. However, if you encounter difficulties removing the key or if you face car gearbox problems, probably, the solenoid is not releasing the key lock as it should.
By meticulously following these steps, you can replace a faulty shift interlock solenoid with confidence, restoring the smooth operation of your vehicle’s gear shift mechanism. However, before you begin with the bad shift interlock solenoid replacement, make sure you always refer to your vehicle’s service manual for specific instructions. If you feel uncomfortable performing this replacement yourself, seek professional assistance to ensure the job is done correctly and safely.
Moreover, here are additional routine car repairs for car owners with the ability to take matters into their own hands.
Always take a test drive when buying a used car for sale in the UAE. Also, consistent maintenance inspections and swift repairs play a pivotal role in preserving the optimal condition of your vehicle’s transmission system.
Keep an eye on the dubizzle car blogs for additional insights and advice on an effective car maintenance checklist.